|
Tivoli: Installing Tivoli Directory Server 6.1 On RHEL5.1
(c) brokenribgolfer.com Author: Mark Hopkins Email Date: 02.20.2008
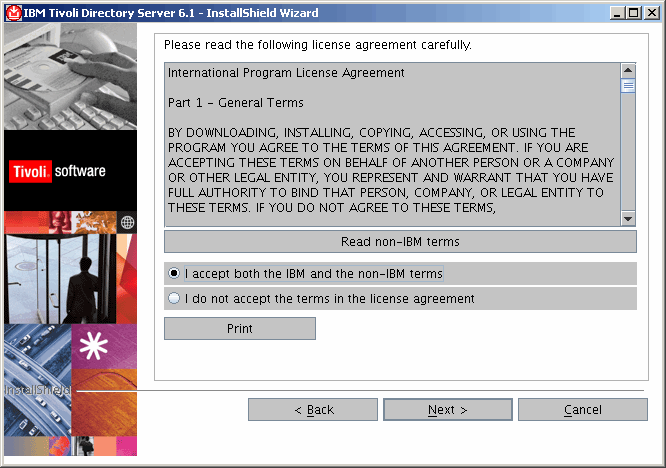
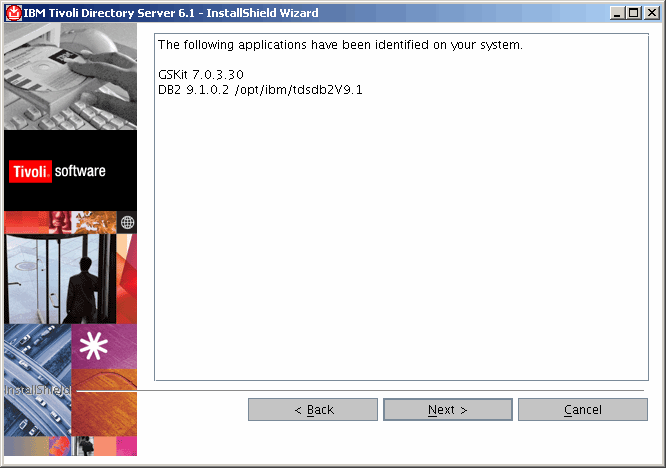
Tivoli Directory Server 6.1, as with many other IBM products can, at times, be nearly impossible to install.
However, we found it much easier to install this product on Redhat Enterprise Linux 5.1, than on IBM's own AIX.
Even though this was the case, it was not easy, as we failed a few times before succeeding. IBM states that they
are working towards all products being installed via installp, and we agree that this would be a very good thing.
What follows in this article is our successfull steps to install TDS 6.1 on RHEL 5.1. If you follow the same order
and steps, you will be on your way to using TDS.
Background We came to installing Tivoli Directory Server (TDS) 6.1 on Redhat Enterprise Linux (RHEL) 5.1 out of necessity, as we were having a terrible time installing it on IBM's very own UNIX flavor called AIX. As we were waiting for IBM's help to resolve issues around the Java installer, we decided to not allow it to be a "show stopper" by temporarily using Linux. As previously stated, even using Linux was not easy, but is was easier than AIX. Assumptions / Requirements
As always, we try to cover every little detail in our articles, and that is what we like to think sets us
apart from the "other guy" so-to-speak. However, a good solid working knowledge of Linux will not hurt
you at all when following this article. We also assume that you have met the requirements for installing
TDS 6.1. Building the Redhat Enterprise Linux 5 Update 1 server will be our very next article, as we are
working a bit backwards these days. So stay tuned as we hope to have it published within a week.
|
|
Other hardware and software we are using for this exercise is as follows:
|
|
Procedure Now that we have laid the groundwork, let's get going with the actual steps. |
|
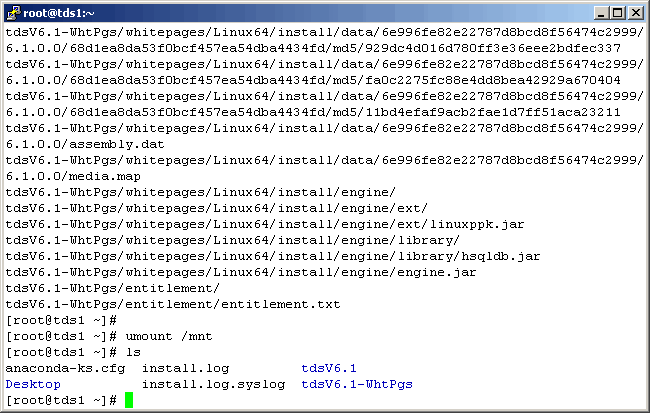
Expand The Media
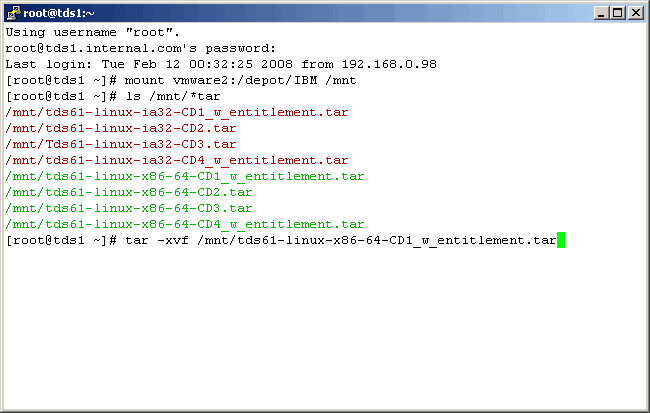
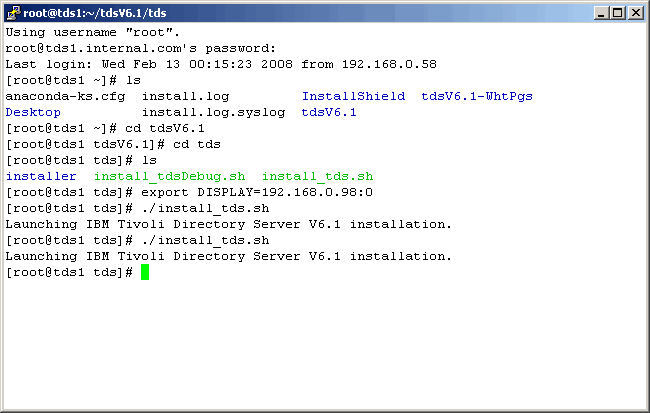
We need to expand the tar files into the same directory location for installation. This product is a
bit quirky as we have already mentioned. In our case we have stored the product files on a samba server
named vmware2. So mount the apropriate NFS share, locate the product as shown below. Then begin by extacting
the first tar (CD1).
|
|
|
|
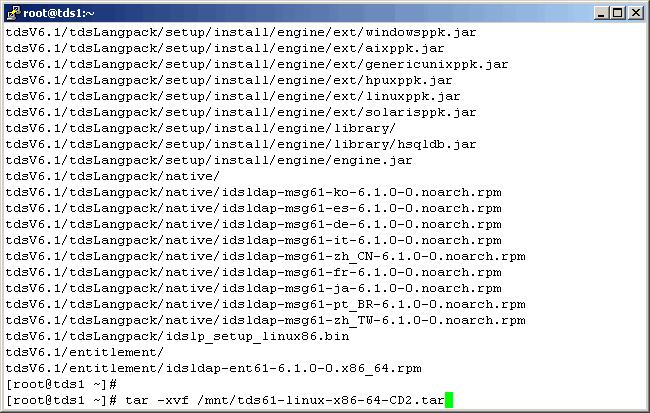
Expand CD2, as shown below.
|
|
|
|
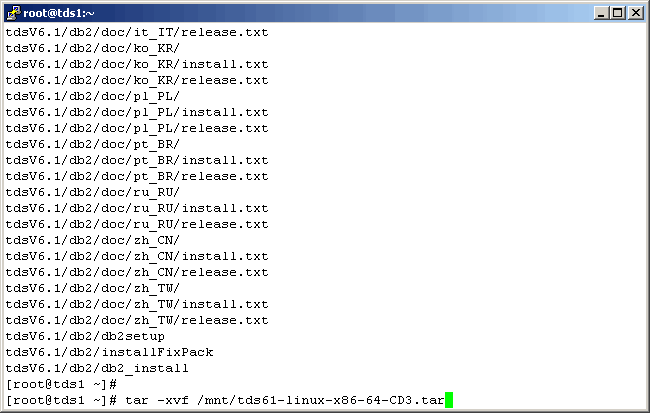
And CD3..........
|
|
|
|
And CD4, although it does not get expended into the same directory structure. This step can probably
be ommitted. Unless of course you want to install the product white papers, which we will not be doing
here.
|
|
|
|
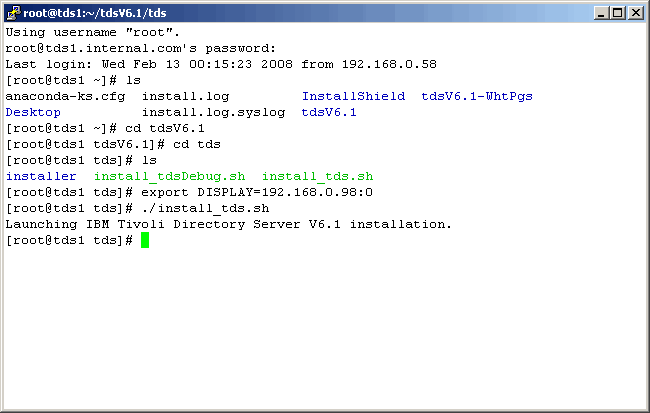
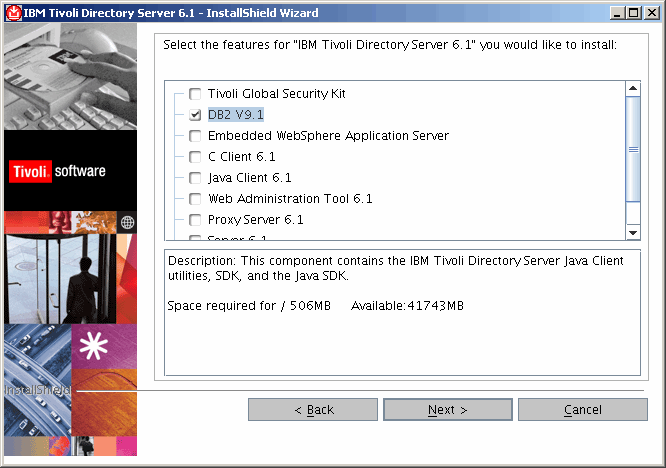
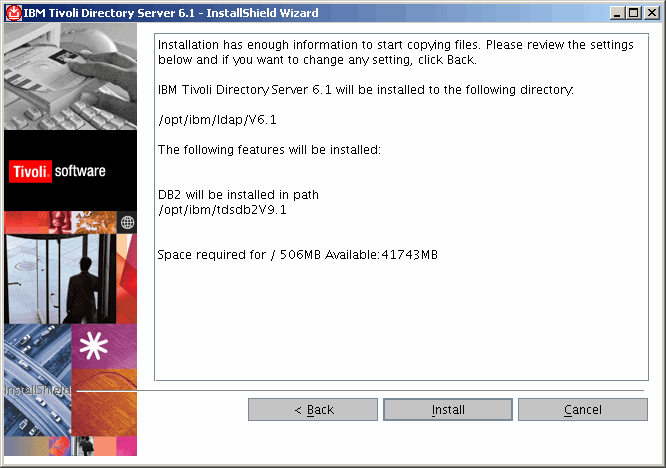
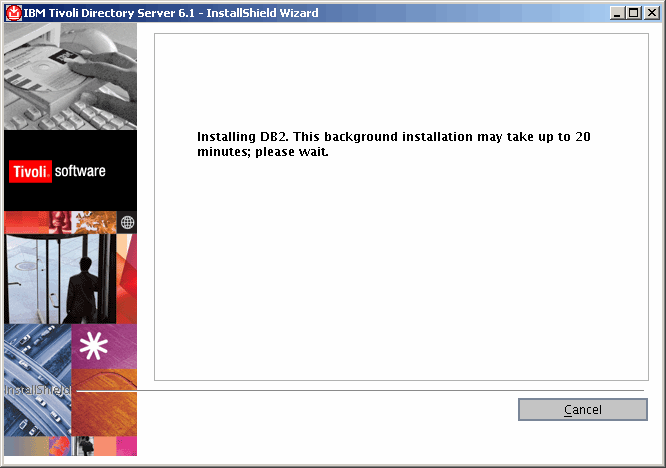
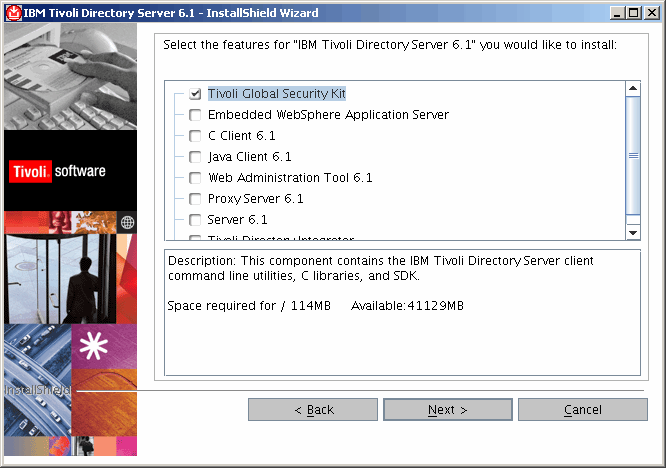
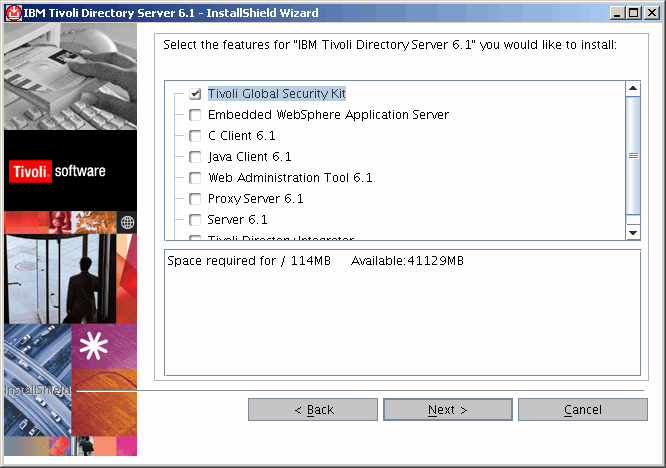
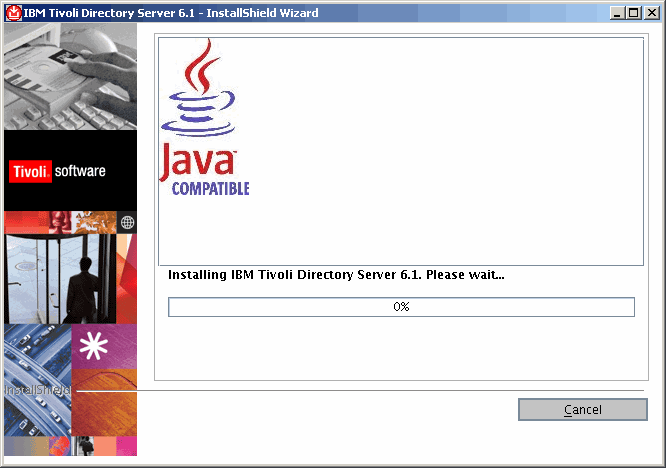
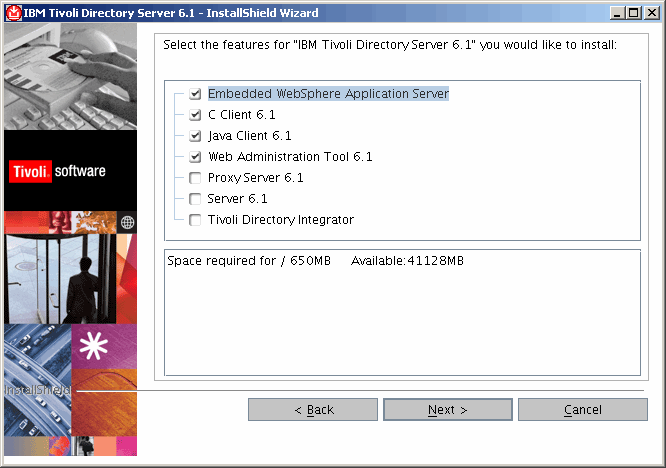
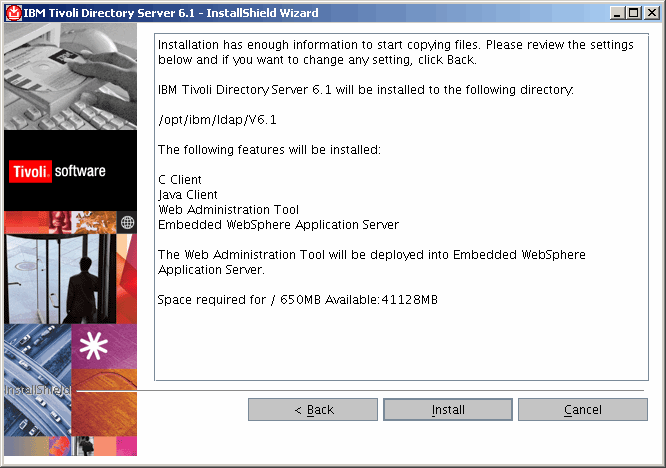
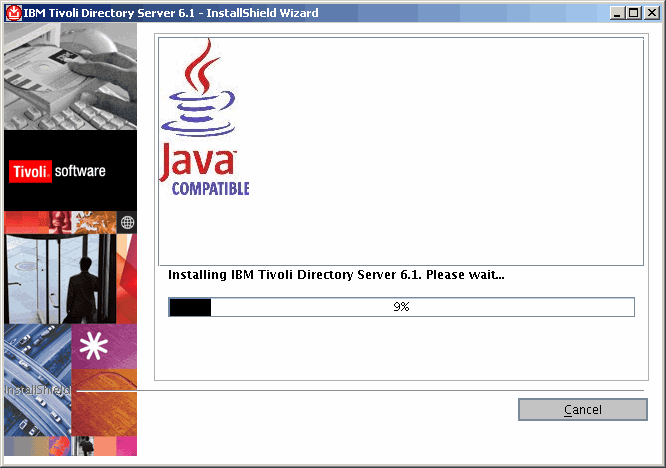
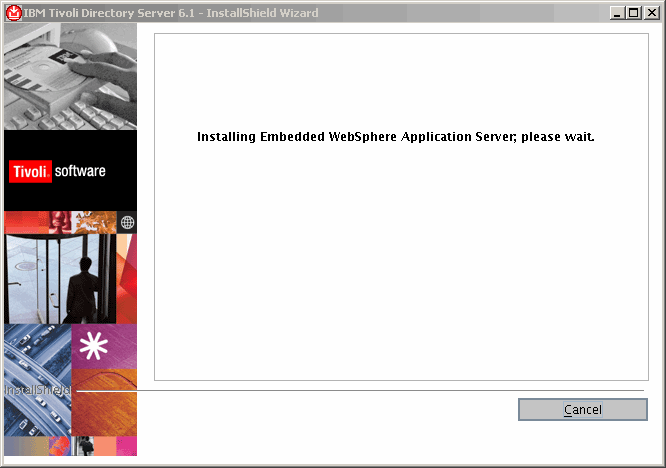
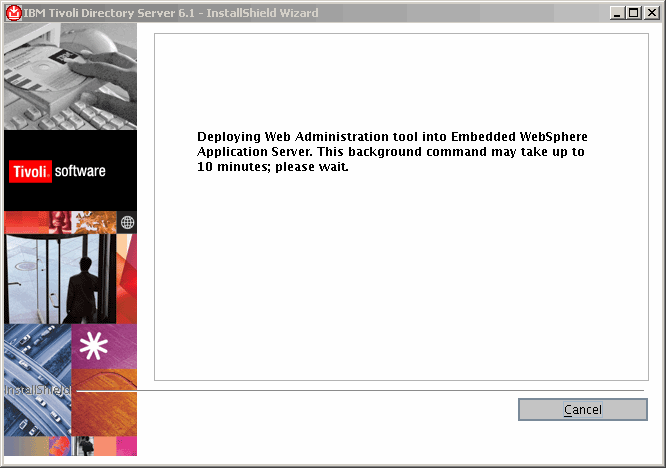
Install DB2
We have fragmented the installation process because when we tried to install everything we wanted
at the same time, the instaler seemed to have problems installing Websphere Application Server (WAS).
So, ............
|
|
|
|
......................
|
|
|
|
................
|
|
|
|
................
|
|
|
|
................
|
|
|
|
................
|
|
|
|
................
|
|
|
|
................
|
|
|
|
................
|
|
|
|
................
|
|
|
|
................
|
|
|
|
................
|
|
|
|
................
|
|
|
|
................
|
|
|
|
................
|
|
|
|
................
|
|
|
|
................
|
|
|
|
................
|
|
|
|
................
|
|
|
|
................
|
|
|
|
................
|
|
|
|
................
|
|
|
|
................
|
|
|
|
................
|
|
|
|
................
|
|
|
|
................
|
|
|
|
................
|
|
|
|
................
|
|
|
|
................
|
|
|
|
................
|
|
|
|
................
|
|
|
|
................
|
|
|
|
................
|
|
|
|
................
|
|
|
|
................
|
|
|
|
................
|
|
|
|
................
|
|
|
|
................
|
|
|
|
................
|
|
|
|
................
|
|
|
|
................
|
|
|
|
................
|
|
|
|
................
|
|
|
|
................
|
|
|
|
................
|
|
|
|
................
|
|
|
|
................
|
|
|
|
................
|
|
|
|
................
|
|
|
|
................
|
|
|
|
................
|
|
|
|
................
|
|
|
|
................
|
|
|
|
................
|
|
|
|
................
|
|
|
|
................
|
|
|
|
................
|
|
|
|
................
|
|
|
|
................
|
|
|
|
................
|
|
|
|
................
|
|
|
|
................
|
|
|
|
................
|
|
|
|
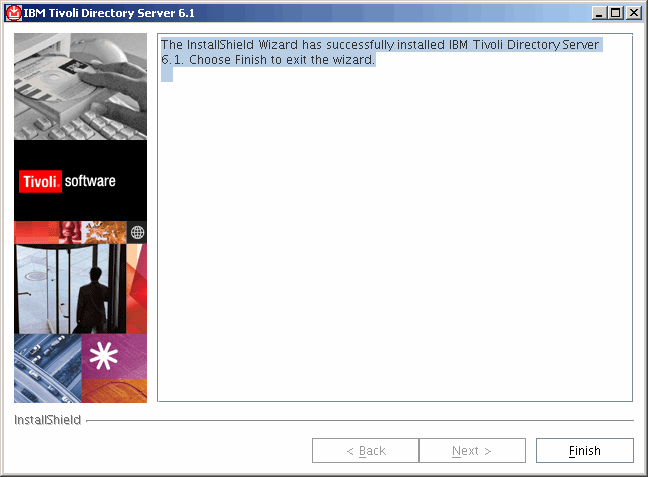
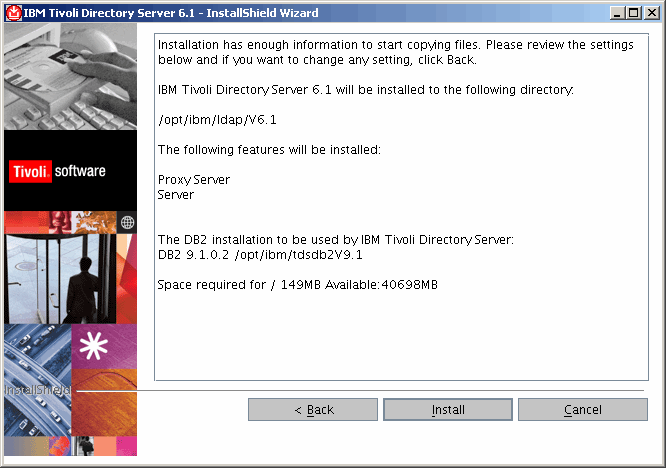
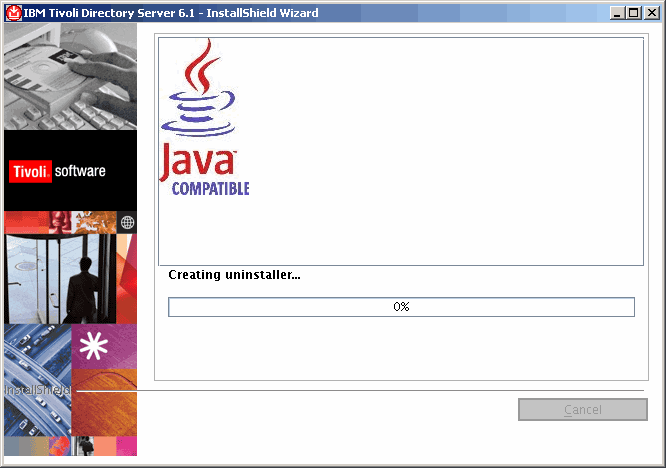
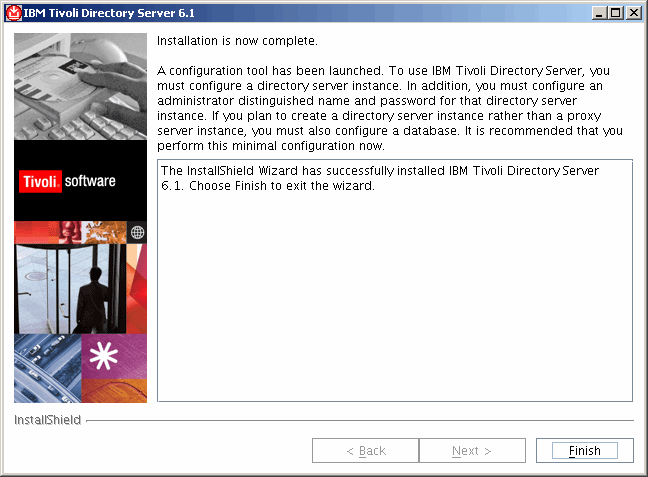
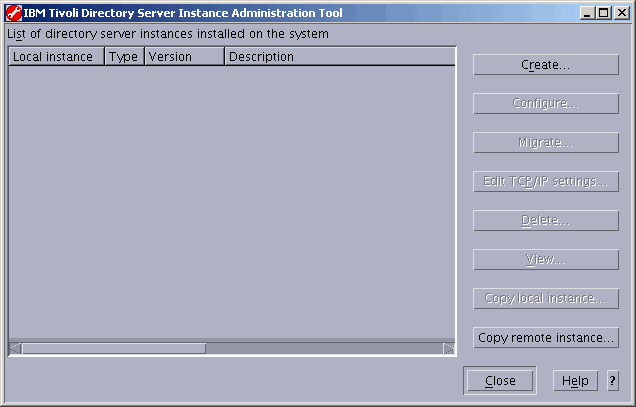
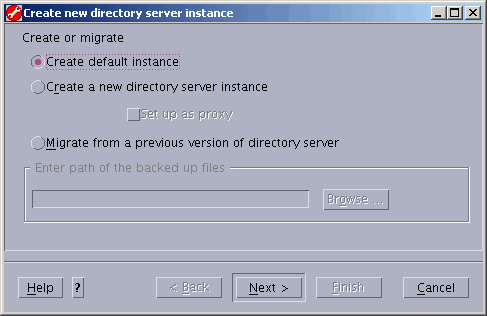
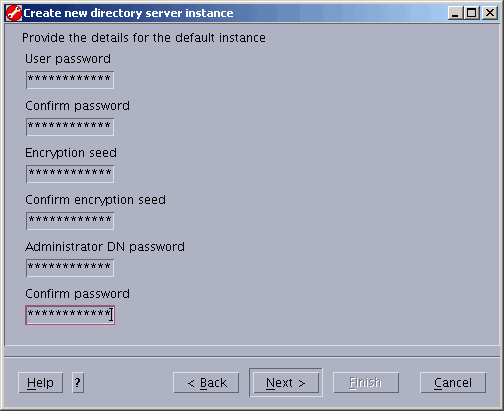
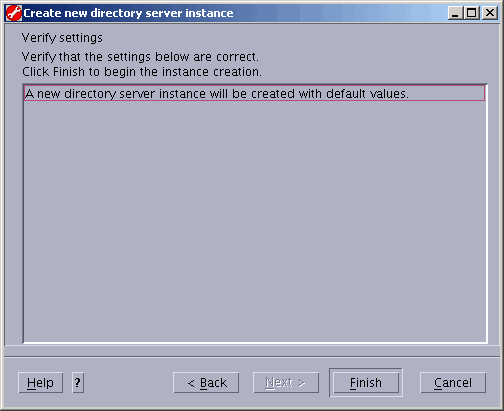
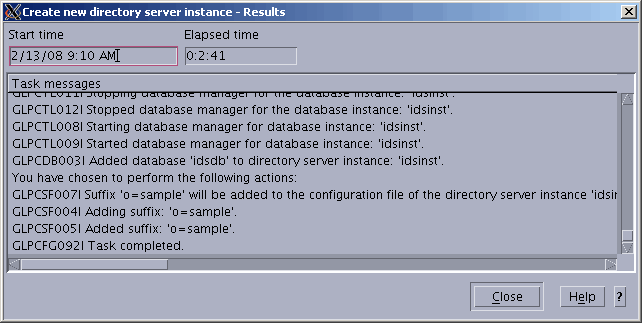
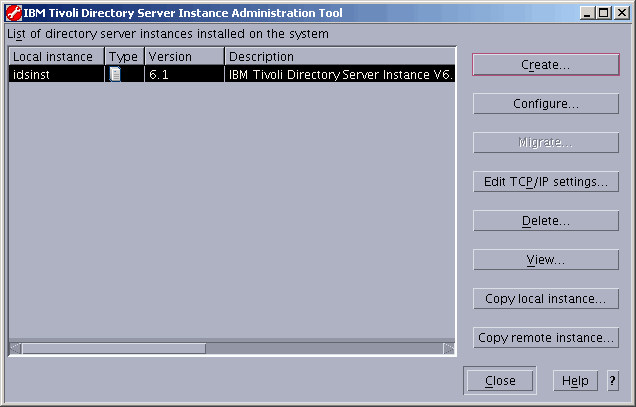
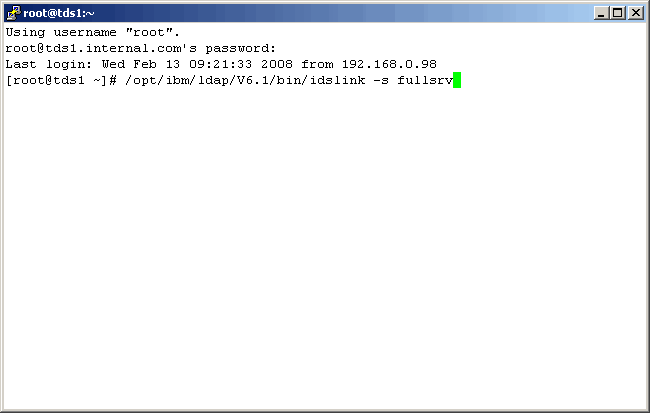
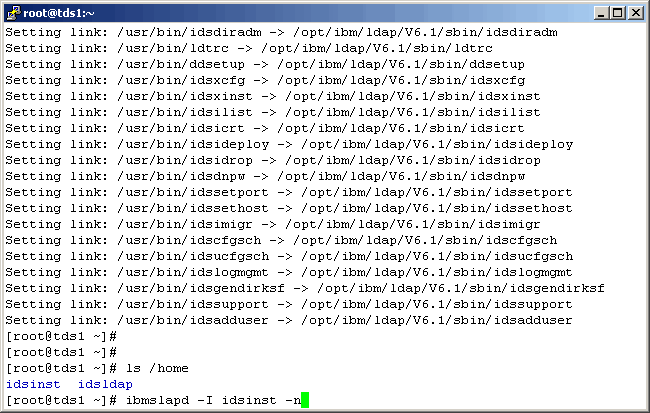
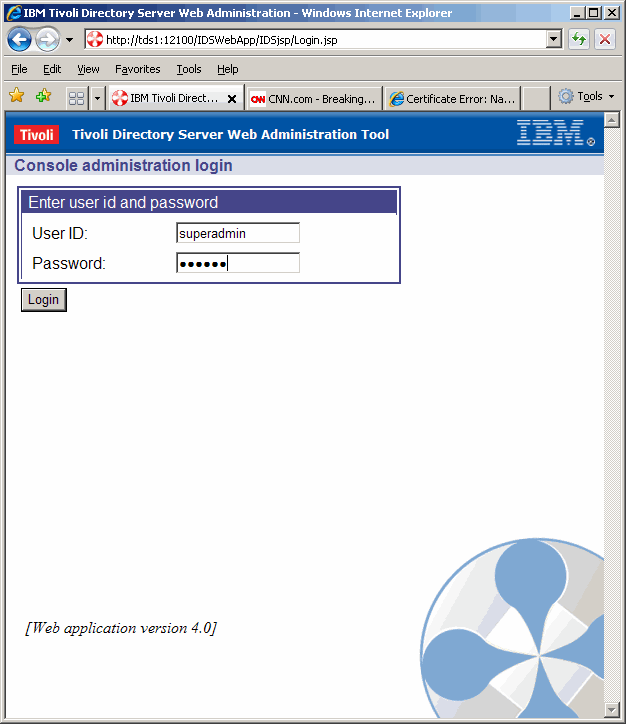
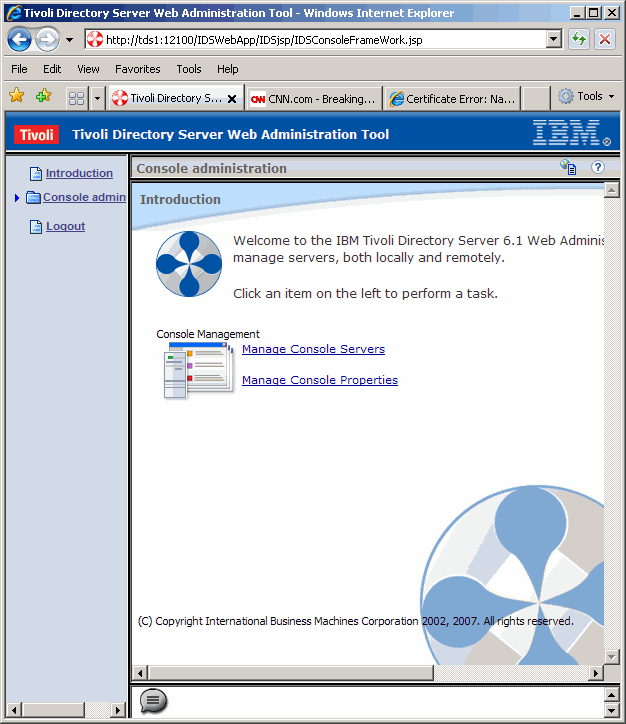
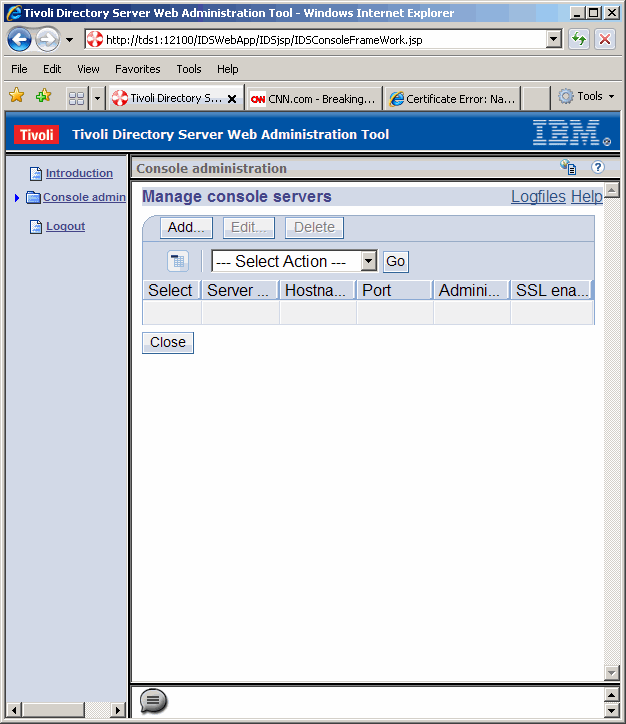
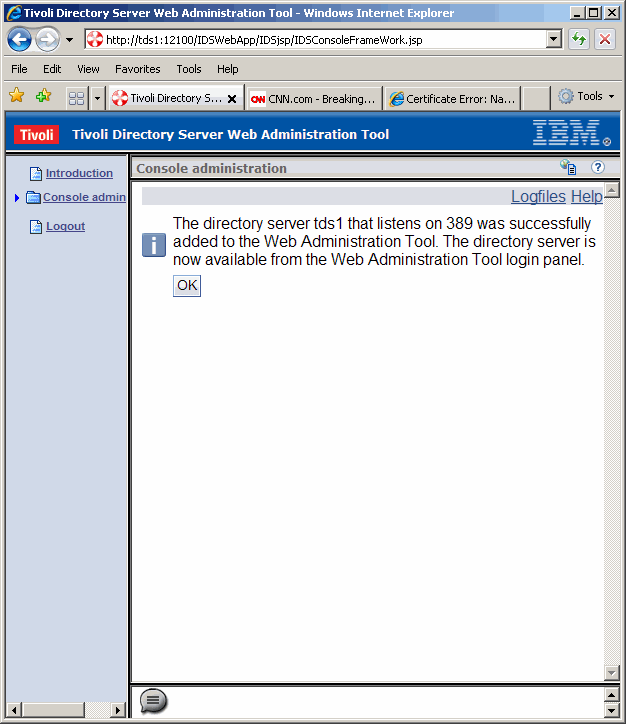
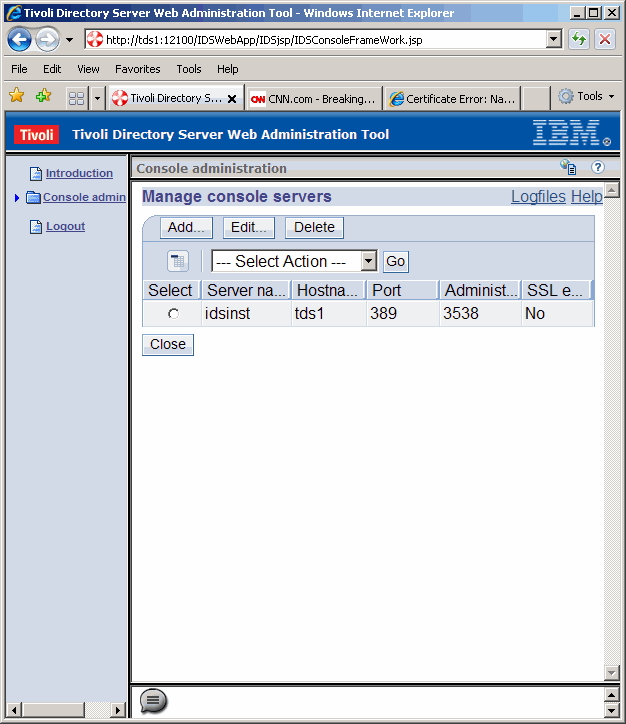
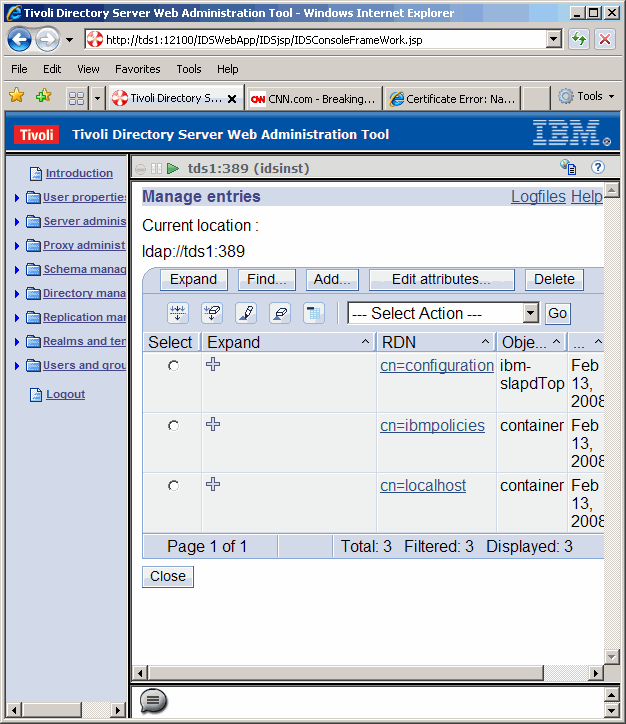
Conclusion
This concludes our exercise to create, configure and verify the configuration of an LDAP instance
using Tivoli Directory Server 6.1.
|
|
Printing This Article
If you have trouble printing this article, be sure to set your browser Page Properties correctly. Go
to File -> Page Setup and set your left and right margins to .125 inches.
|